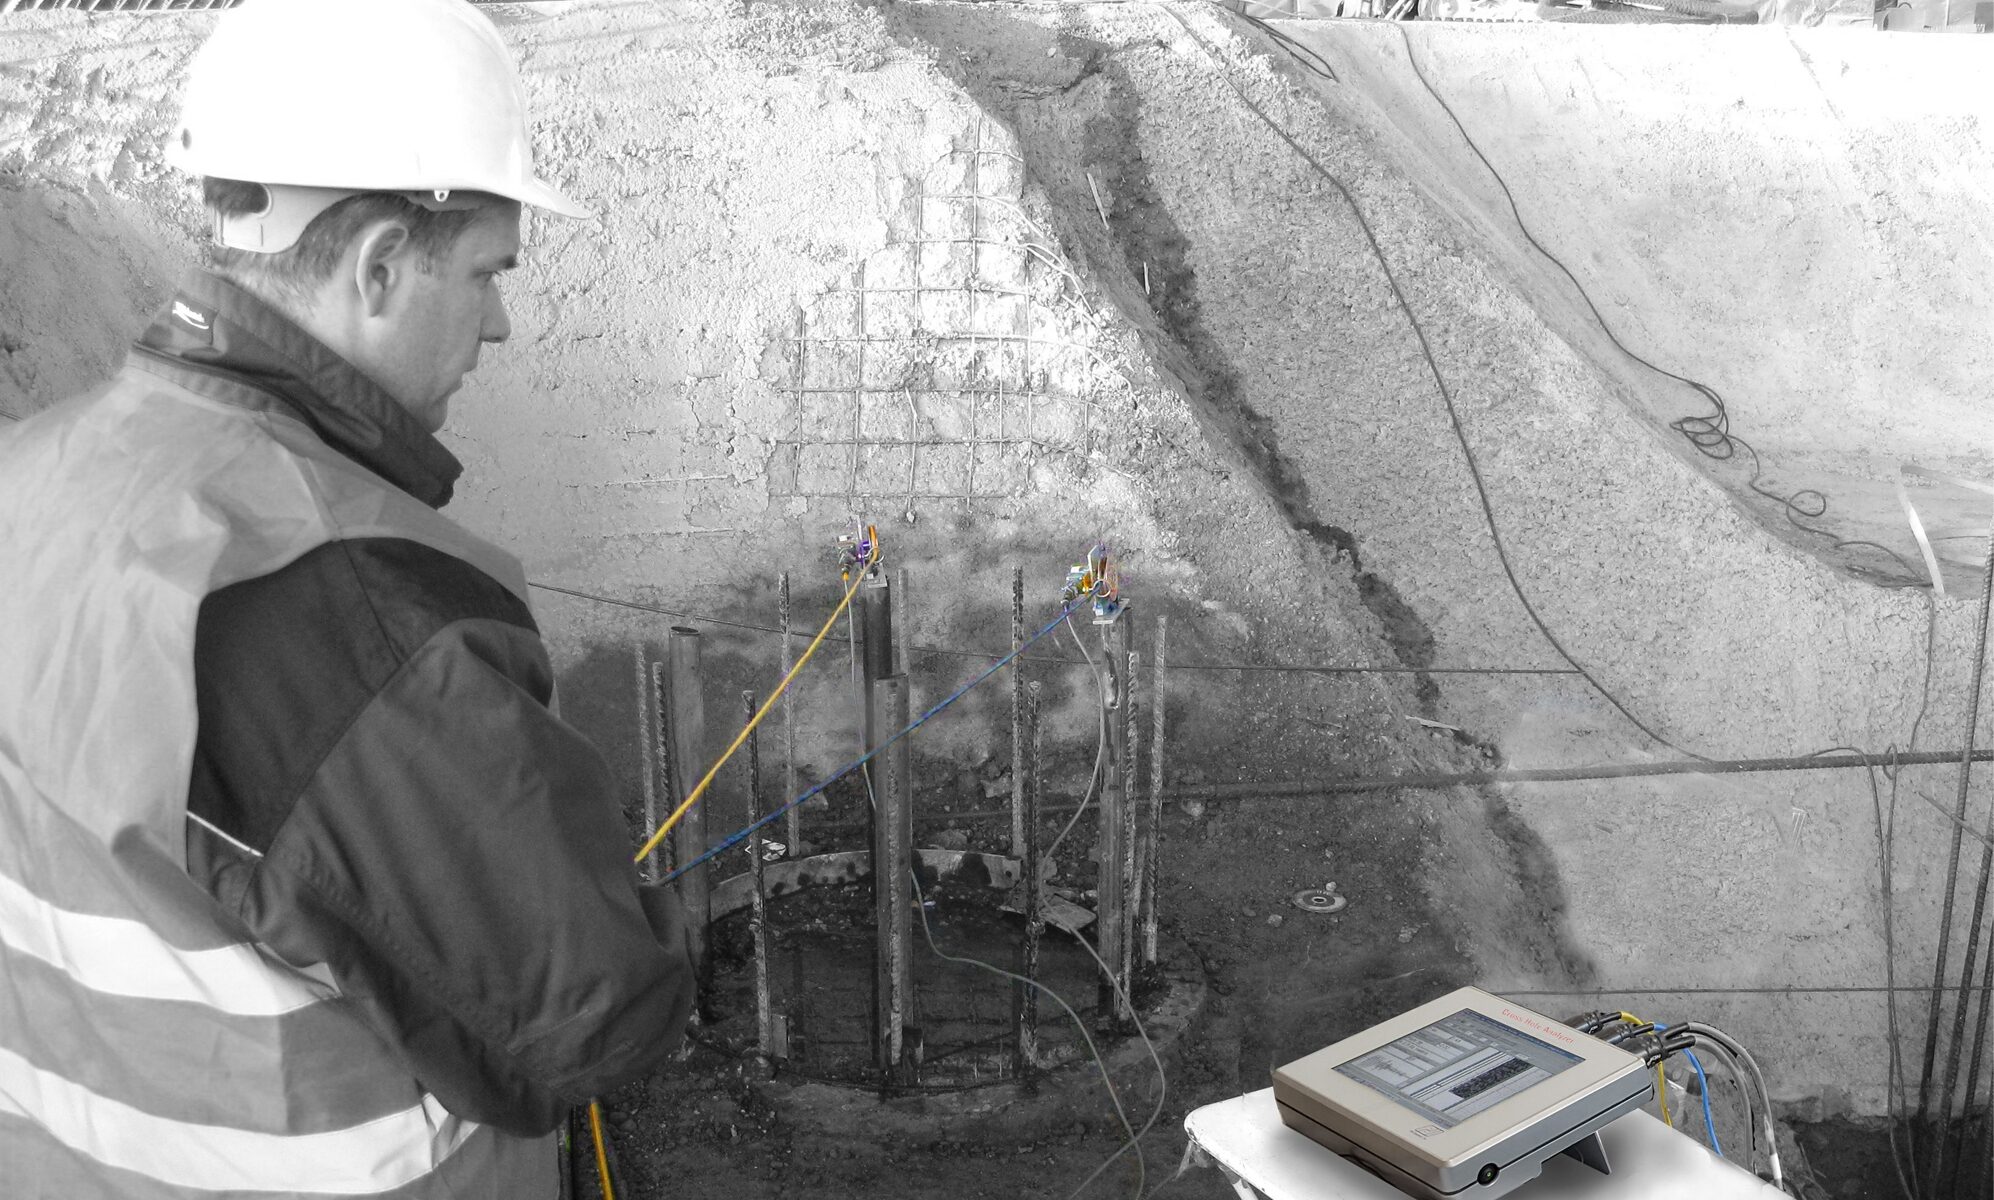
The ultrasonic integrity testing (also: cross hole sonic logging – CSL, ultrasonic testing or “carottage sonique”) is a method to inspect the homogeneity of materials of solid bodies. A standard use of this measuring method is testing of in-situ piles. Divergences in homogeneity of the material are ascertained by sudden changes of the travel time of ultrasonic waves. These divergences are called anomalies.
Measuring Method (CSL)
In ultrasonic integrity testing the wave speed as well as the signal strength of an ultrasonic wave are measured. The emitted ultrasonic wave travels horizontally from transmitter to receiver. Both probes are placed in separate parallel access tubes. For transmission of the ultrasonic signal the access tubes are filled with water. Depending on the number of tubes the number of distances per measuring level (ring measurements and cross measurements) is defined. As a rule one access tube is installed per 25 cm of pile diameter (e.g. for a 90 cm diameter pile 4 tubes) with a minimum of 3 tubes per pile. The measuring tubes are fixed to the reinforcement cage.
Measuring Equipment
For Ultrasonic integrity testing the „Cross Hole Analyzer“ (CHA) by Pile Dynamics, Inc. (PDI) is used. You can receive information about the measuring equipment here: Information about the “Cross Hole Analyzer” CHA
Evaluation of Measuring Results
Codes (e.g., USA-ASTM D6760-02 or France-NF P94-160-1) define the technical conditions for the execution of the tests as well as the requirements for the measuring equipment. A recommendation of GSP for the evaluation of measurements can be found in the German “Recommendations on Piling (EA-Pfähle)” or downloaded here: Recommendations for the evaluation of ultrasonic measuring signals (in German)
TomoSonic
Cross sections or 3D-views can be generated from the measured values using the program “Tomosonic” by Pile Dynamics, Inc. and thus the size of defects can be visualized.


